How to create a DMARC record?
DMARC record
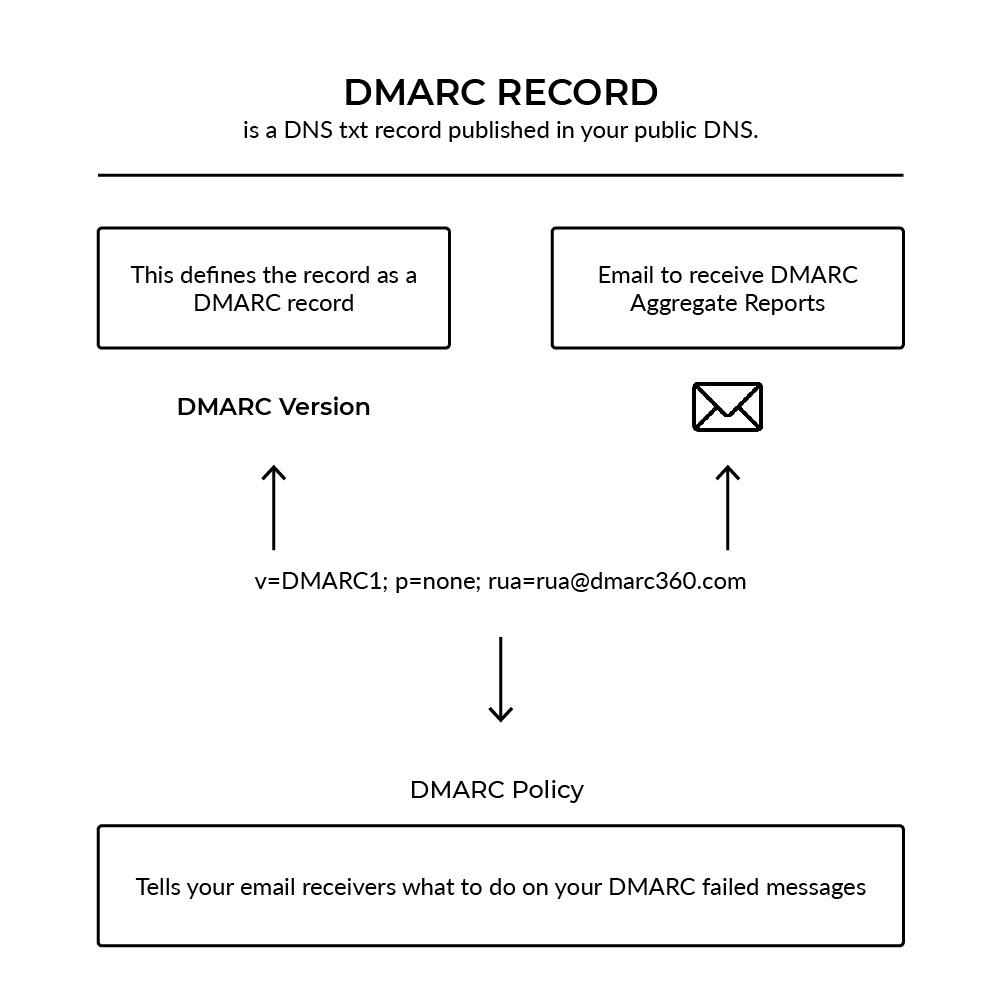
A DMARC record defines the DMARC record rulesets and can be considered as the essence of a DMARC implementation. DMARC records notify email receivers if a domain is configured for DMARC. If this is the case, the DMARC record consists of the policy configured by the domain owner. For more information on DMARC.
How to create a DMARC record?
The DMARC record should be placed in the DNS of your domain. The TXT record name should be “_dmarc.yourdomain.com” where “yourdomain.com” is replaced with your actual domain name. Using a DMARC Generator, EmailAuth helps to easily generate the DMARC record of any domain. Users are allowed to use the DMARC generator to generate a sample DMARC record. DKIM and SPF must be configured before deploying DMARC. DKIM and SPF should be validating email messages for at least 48 hours before DMARC is turned on. Once everything is in place, follow these steps to create a DMARC record:
Note: Perform these steps in the management console for your domain host.
- Be ready with the text file or line that consists of your DMARC policy record.
- Sign in to the management console for your domain host.
- Find the page where you updated your DNS records.
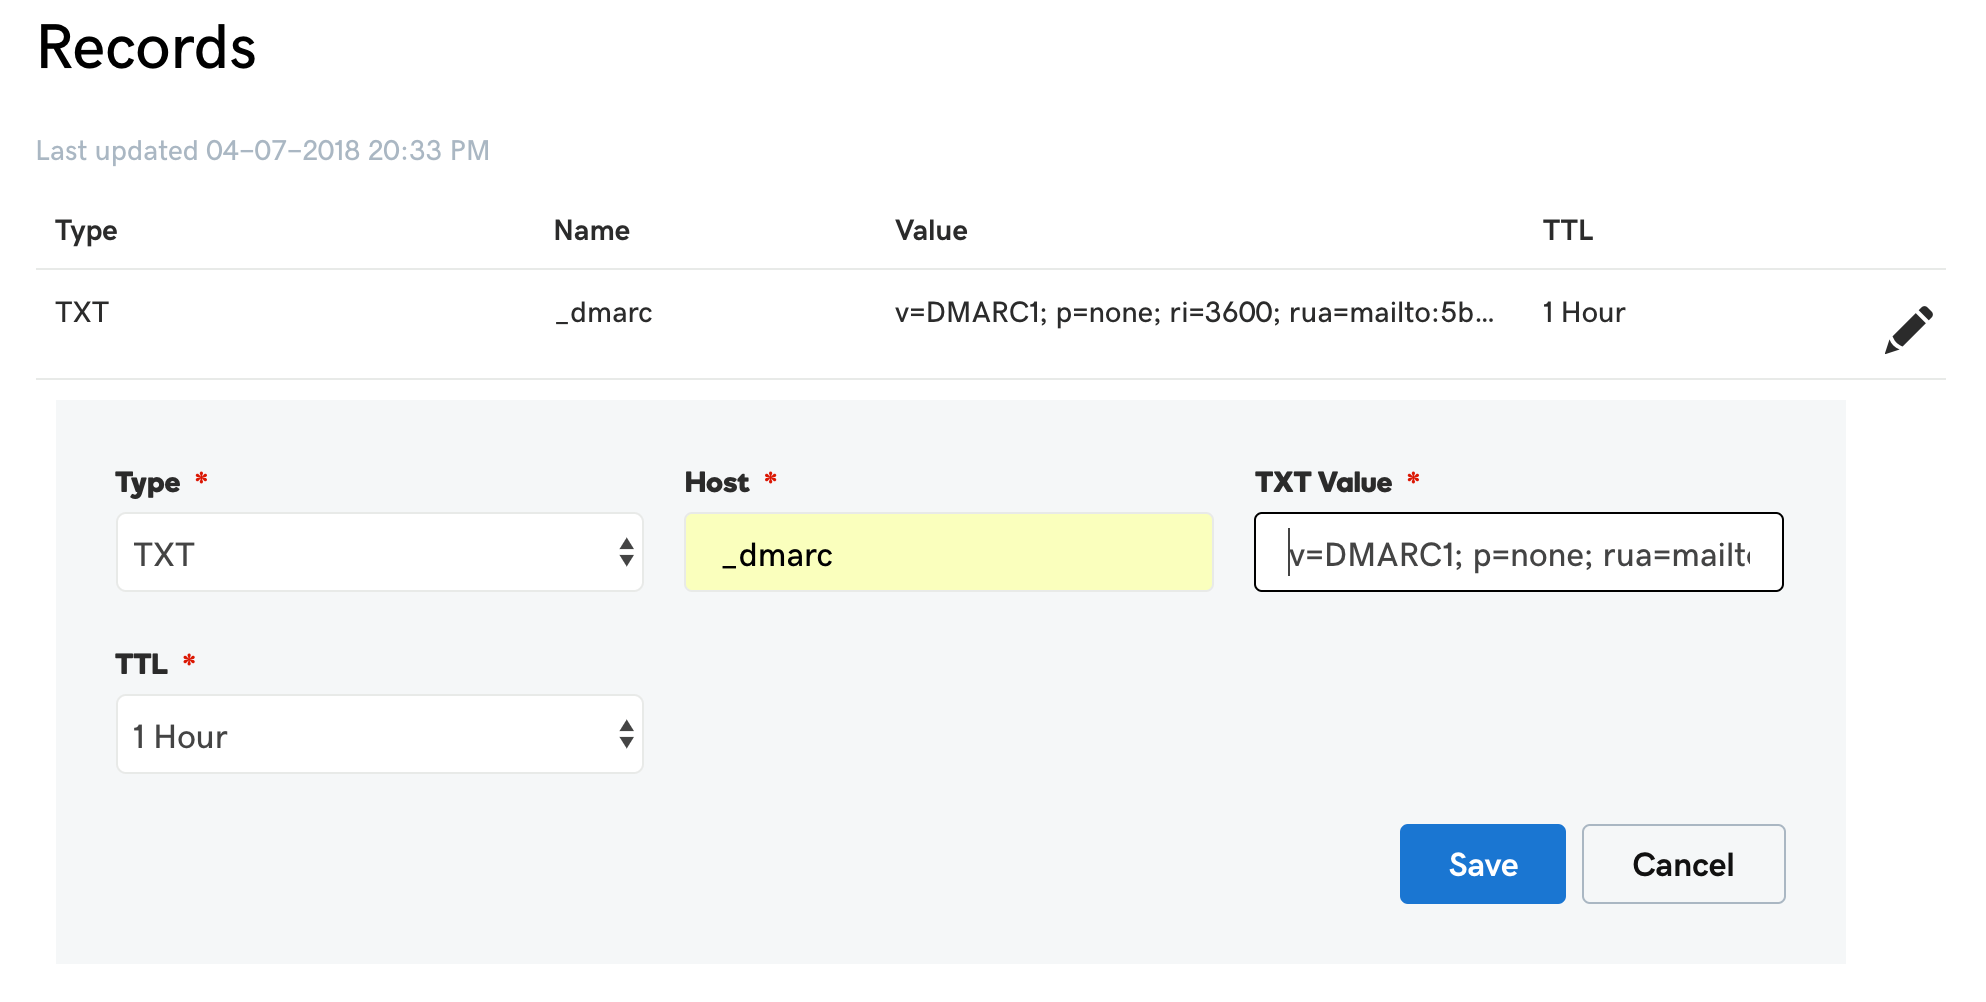
- Add your DNS TXT record, or update an existing record, by inserting your record in the TXT record for _dmarc.
1. In the first field, under the DNS Hostname, enter _dmarc.yourdomain.com. Note that some domain hosts automatically add the domain name after _dmarc. After you add the TXT record, verify the DMARC TXT record name for its correct formatting.
2. In the second field, enter the text for your DMARC record. For example:
v=DMARC1; p=none; rua=mailto:dmarc-reports@emailauth.io - Save your changes.
How To Use EmailAuth DMARC Record Generator?
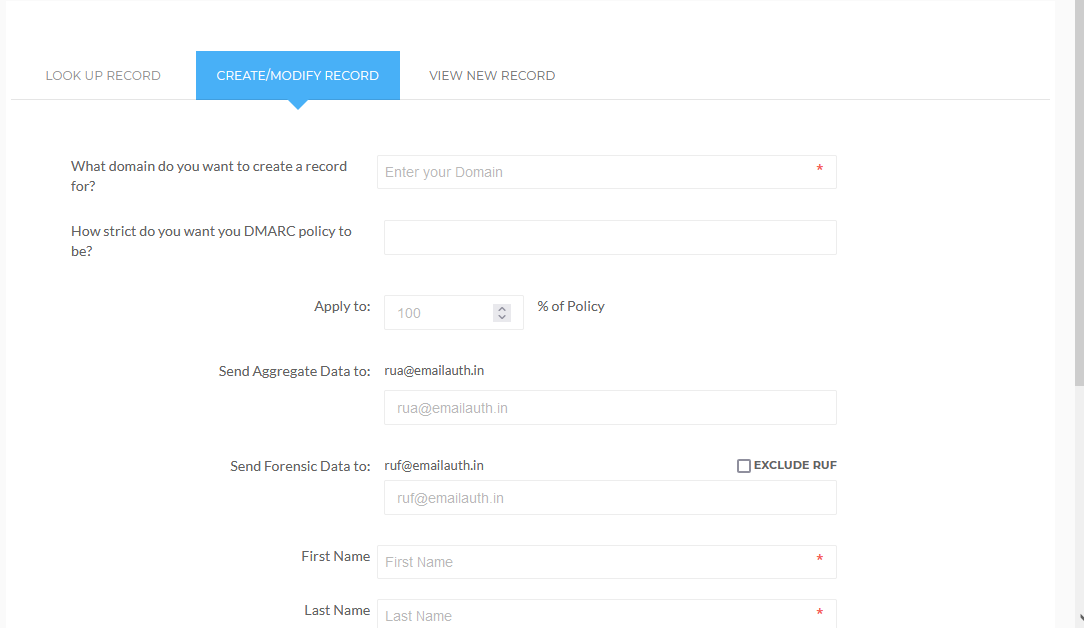
The DMARC Record Generator also allows users to create their own DMARC Record so they can begin tracking and monitoring their domain(s). With this tool, a DMARC record can be generated in the following steps:
- Enter the domain.
- Select your policy from the list.
- Select the “Apply to” percentage.
- Enter your Aggregate and Forensic reports address.
- Enter your first and last names, work email, and company name.
- From the Advanced Settings list, select the settings you want.